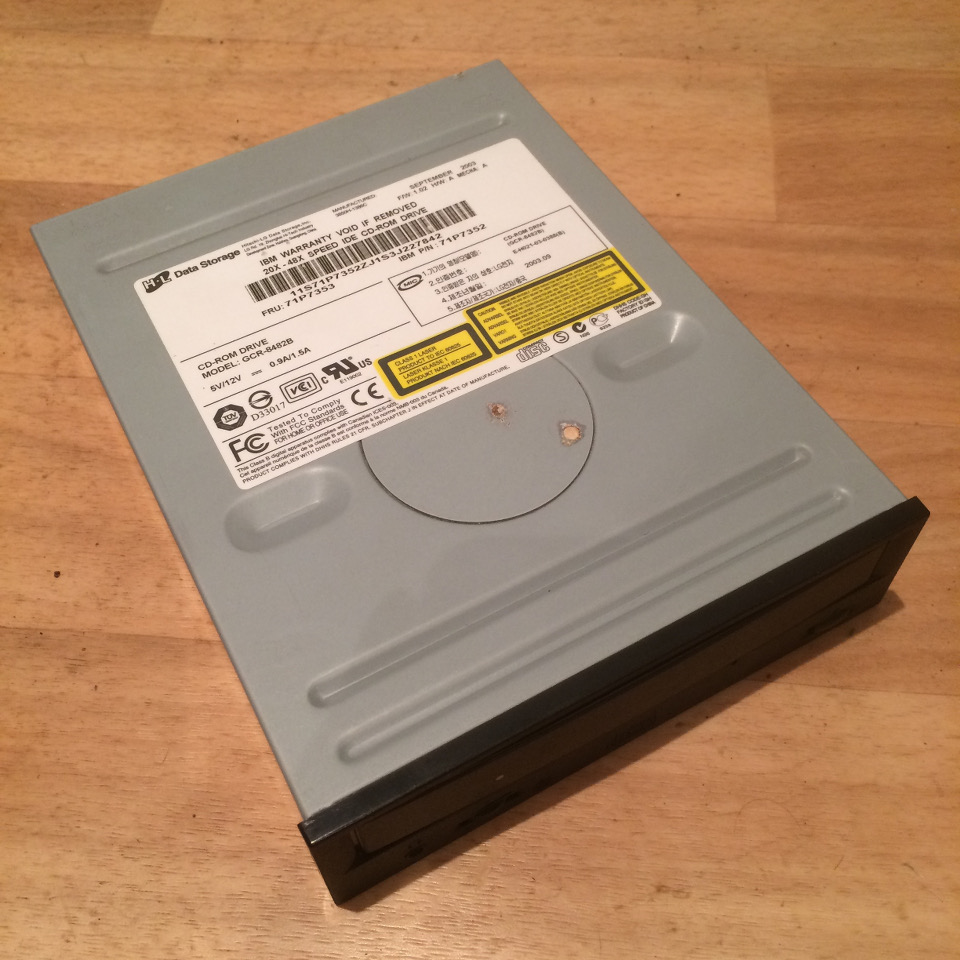
Taking apart an old drive is very easy. I had some old drives lying around from dead PCs that I had broken up but it’s easy to pick up a broken drive on eBay.
I’ve lost the photos I took for the motor I’ve used in the printer, so here is an equivalent deconstruction of a spare CDROM I had lying around.
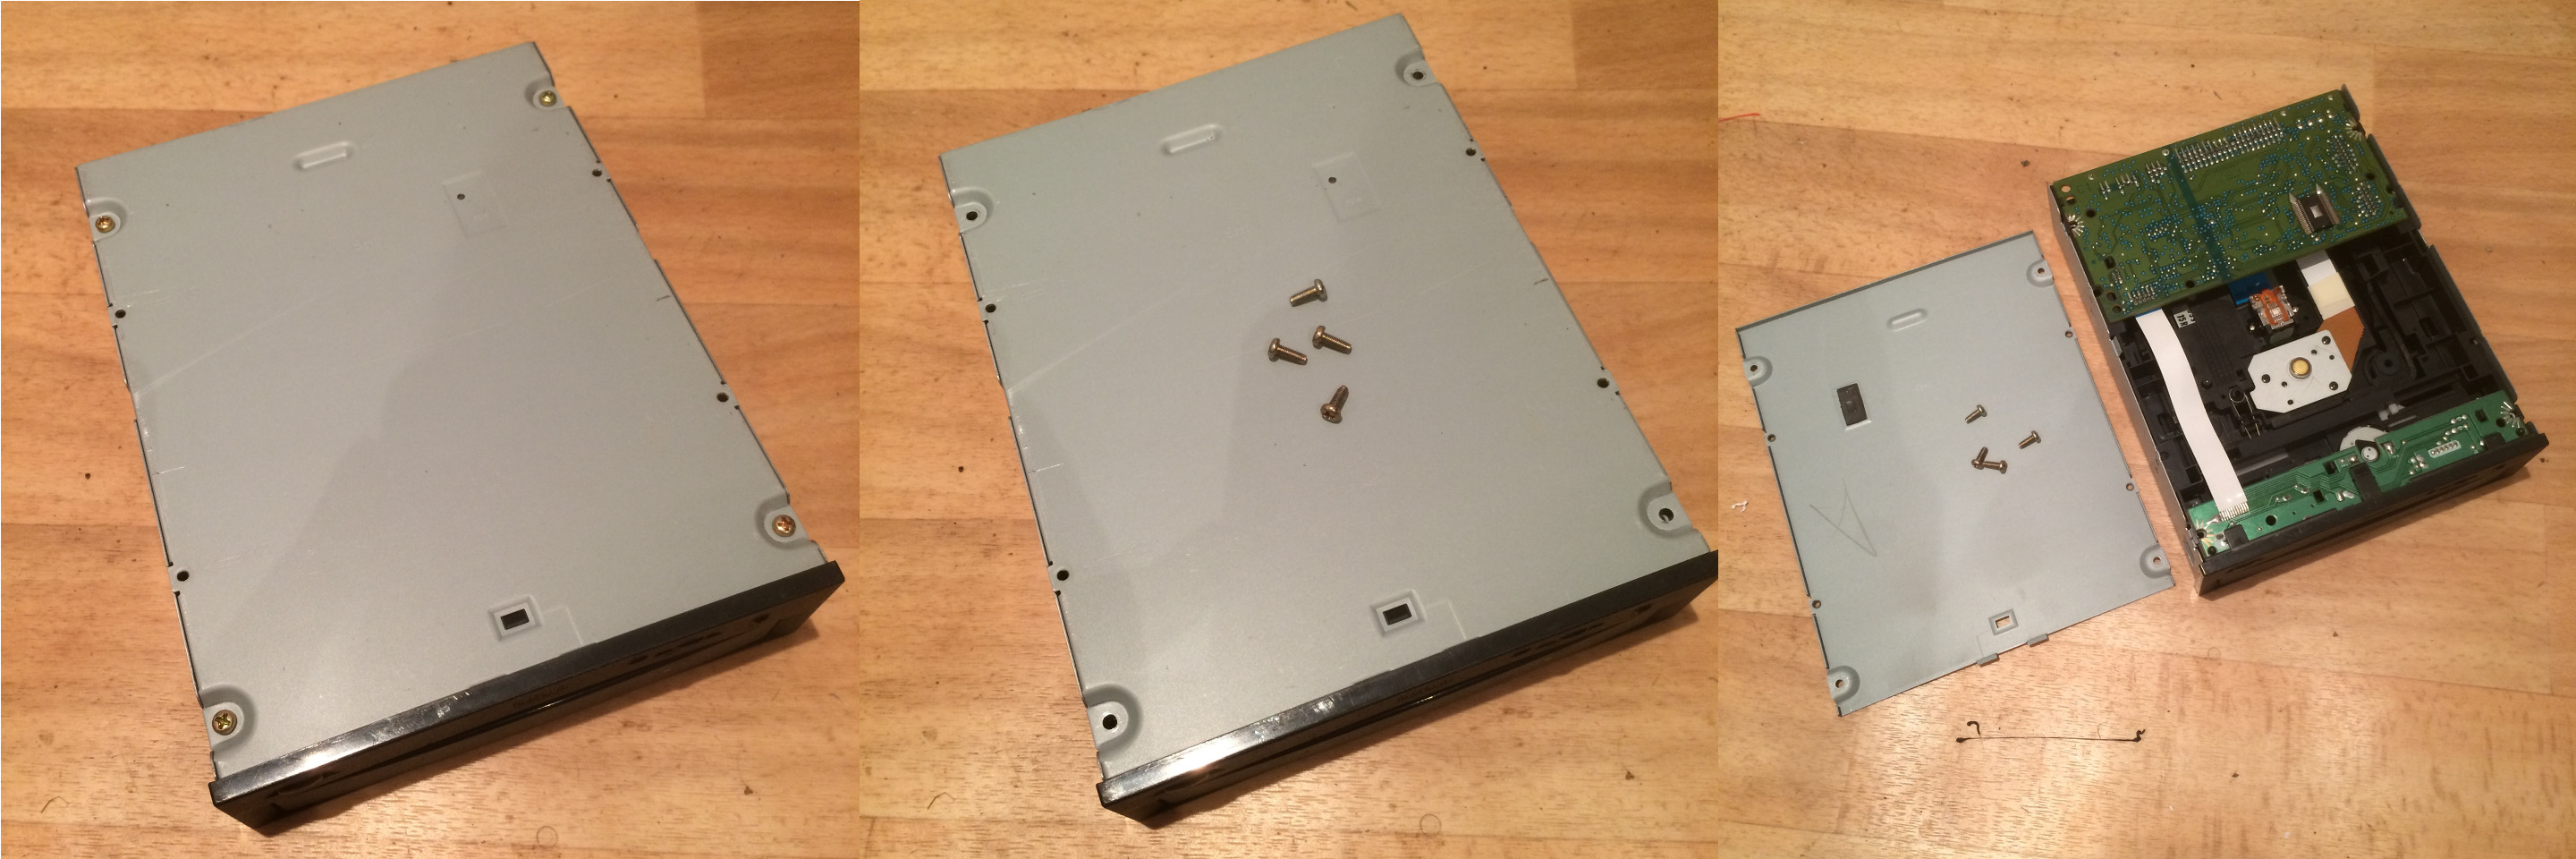
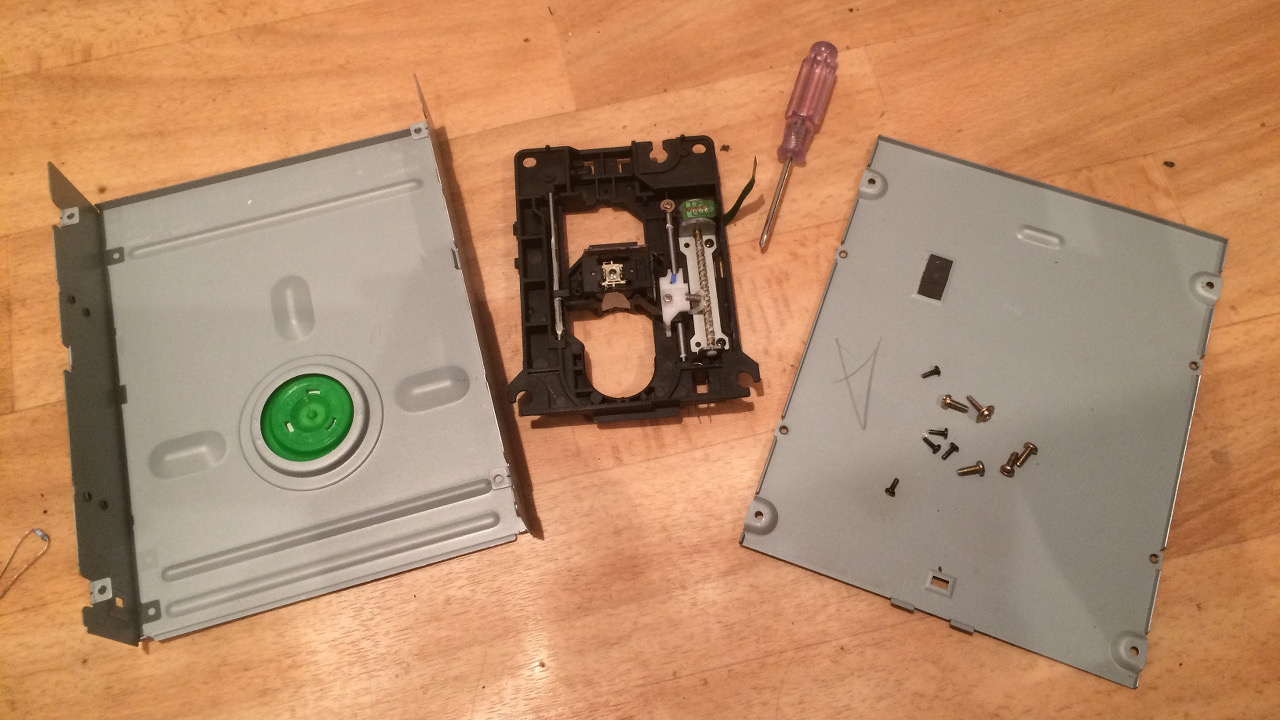
Flip over the drive and there are 4 screws to be removed
The bottom face plate that comes off, save that for later.
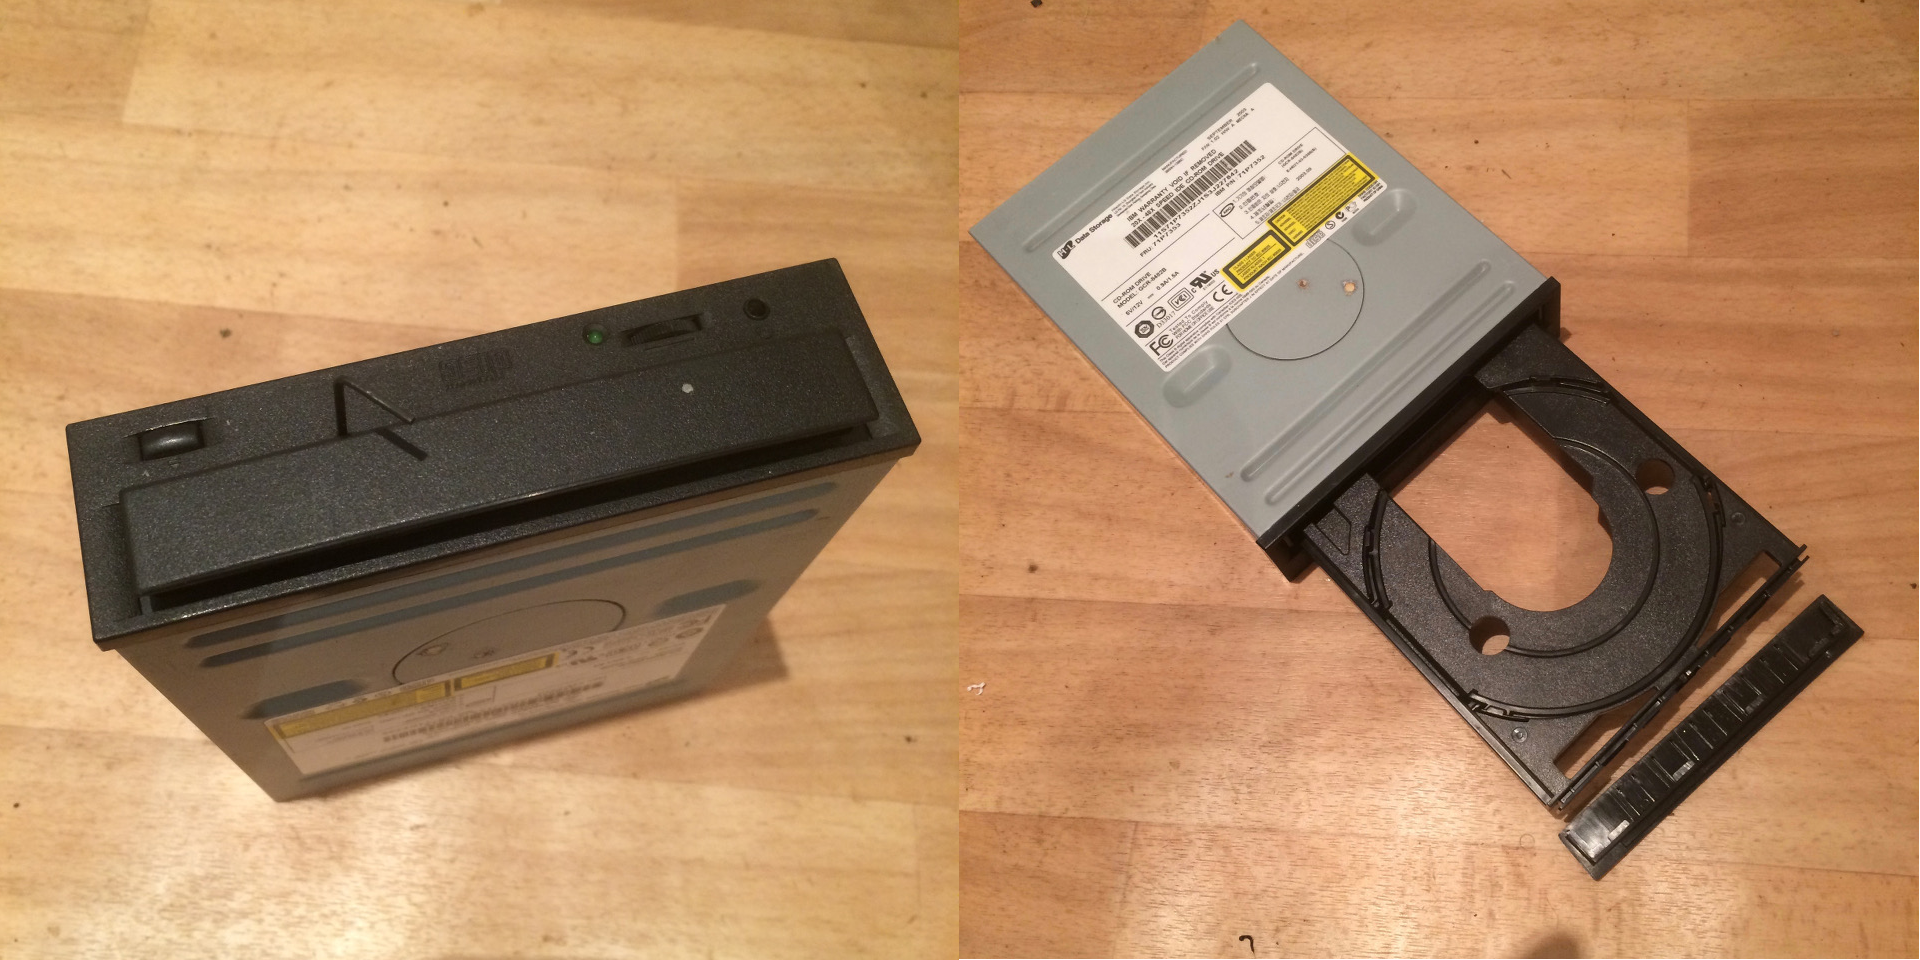
Upend, the drive and with a small hex wrench or a bent paper clip, eject the drive tray and remove the thin face plate on the end.
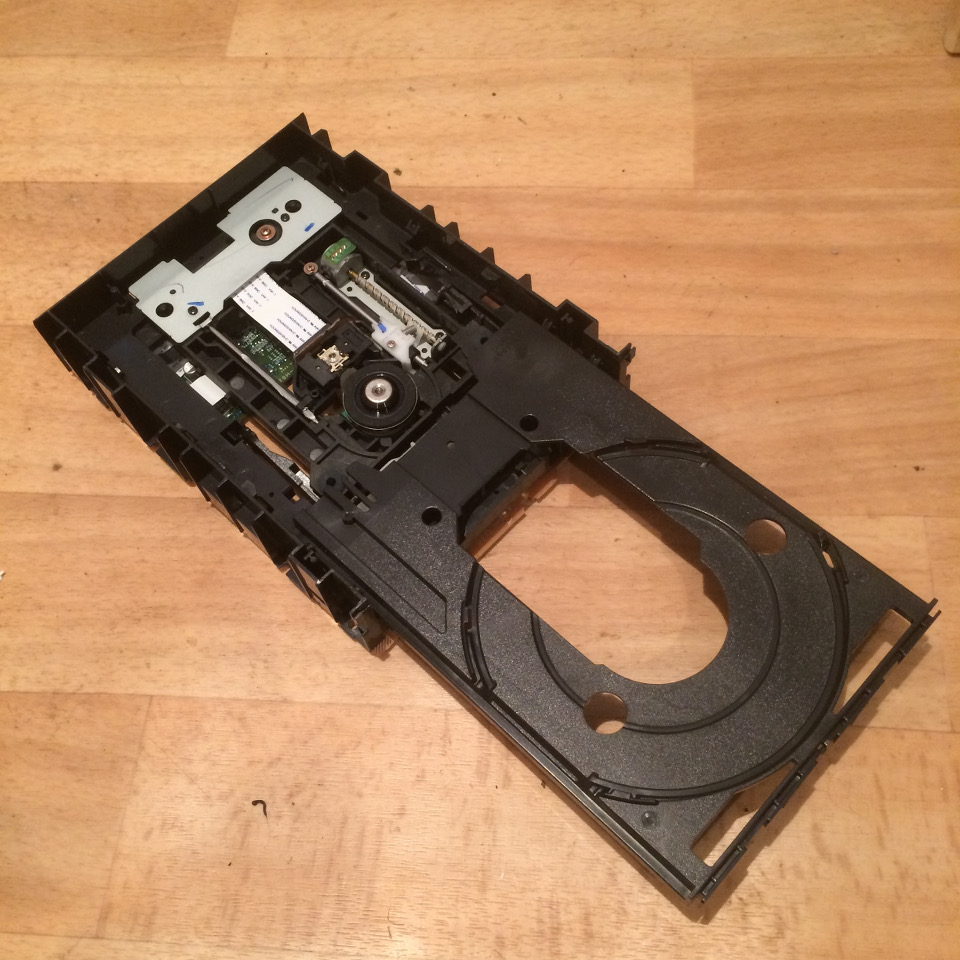
Slide the tray back in and now it should be easy to remove the entire front face of the drive.
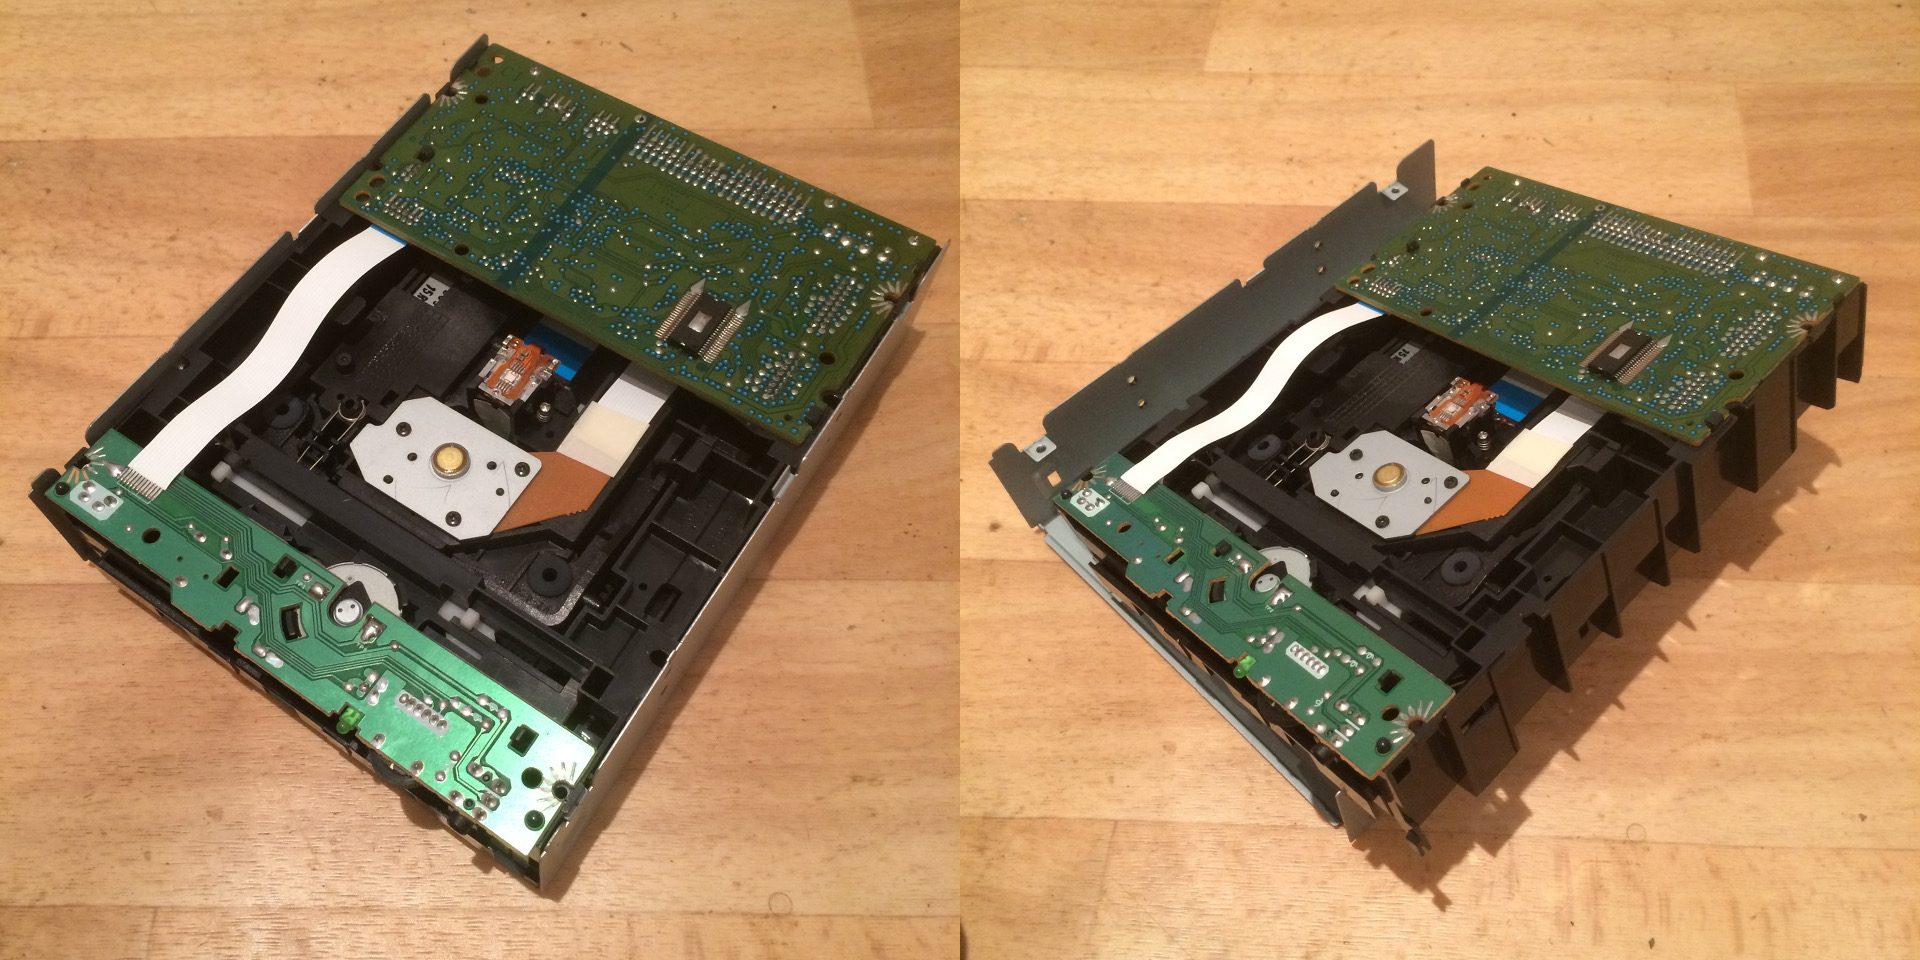
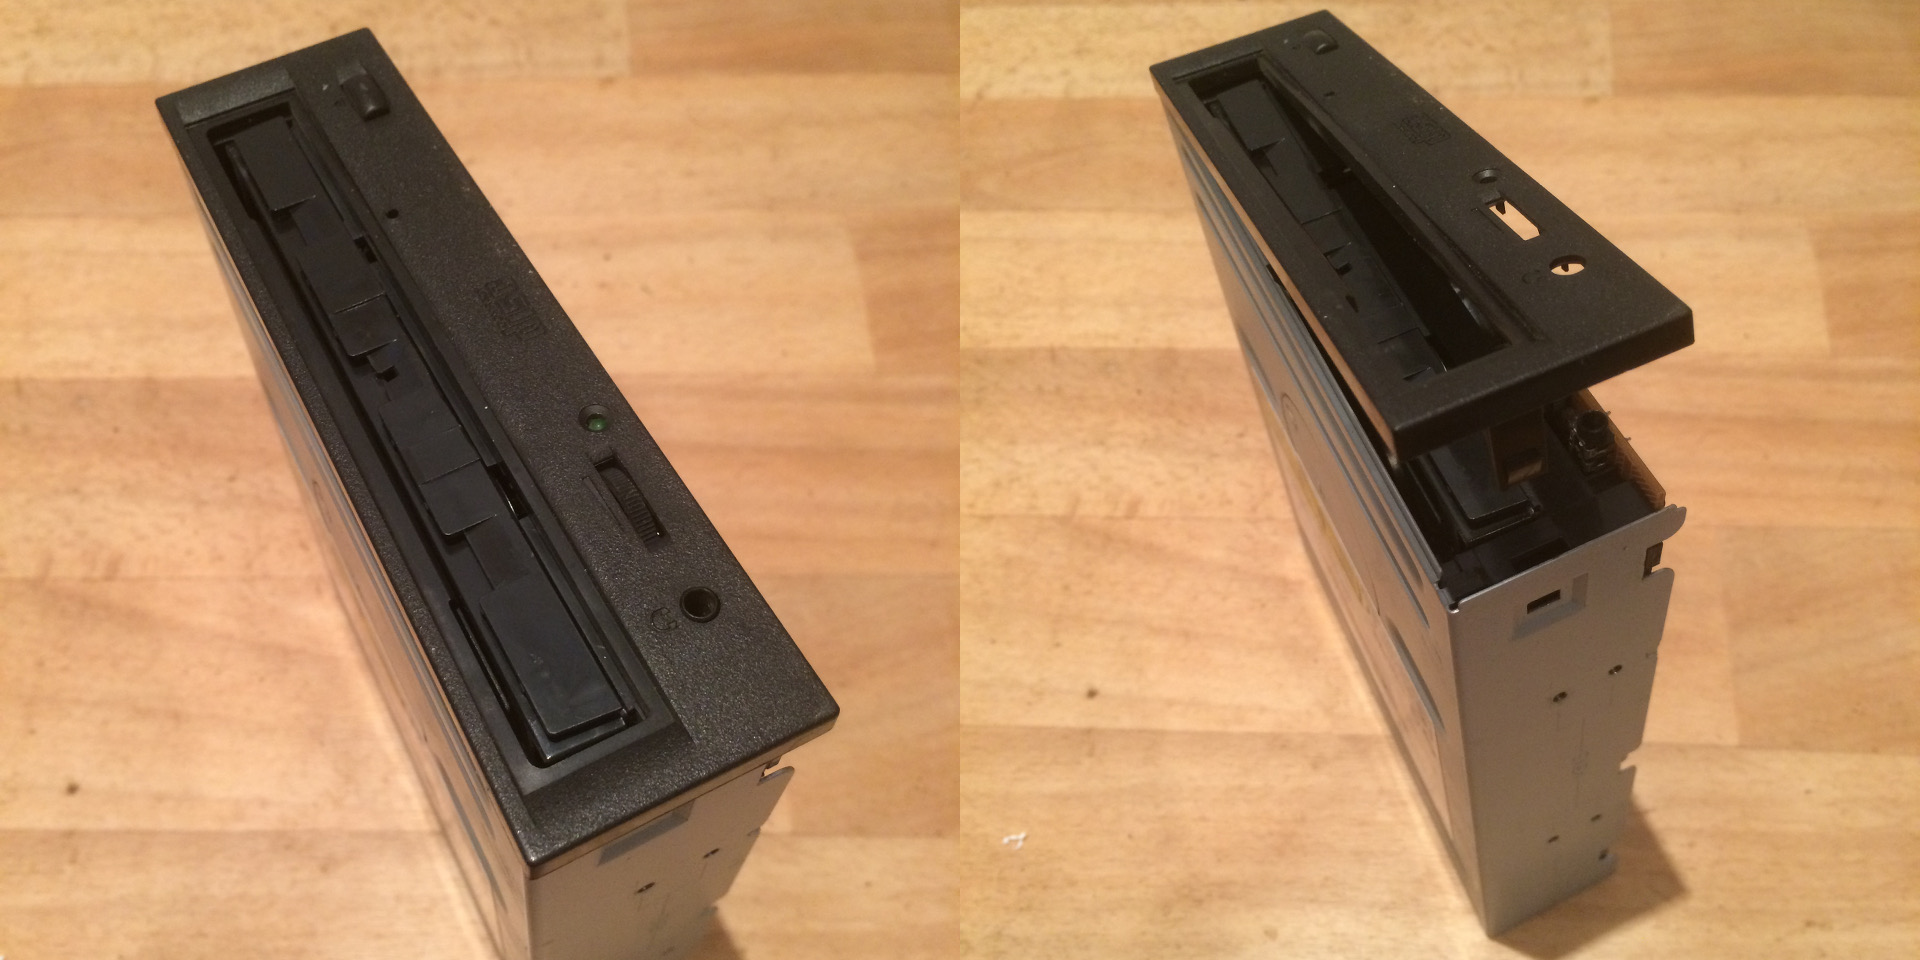 Now that the front face is removed, ease the metal case apart gently (watch those fingers) and the electronics should come out in one piece.
There are a lot of electronic components in the drive but thankfully we only need one isolated part. You can start ripping the drive’s guts into smaller pieces but I’ll show you the quick way to get the bit you need.
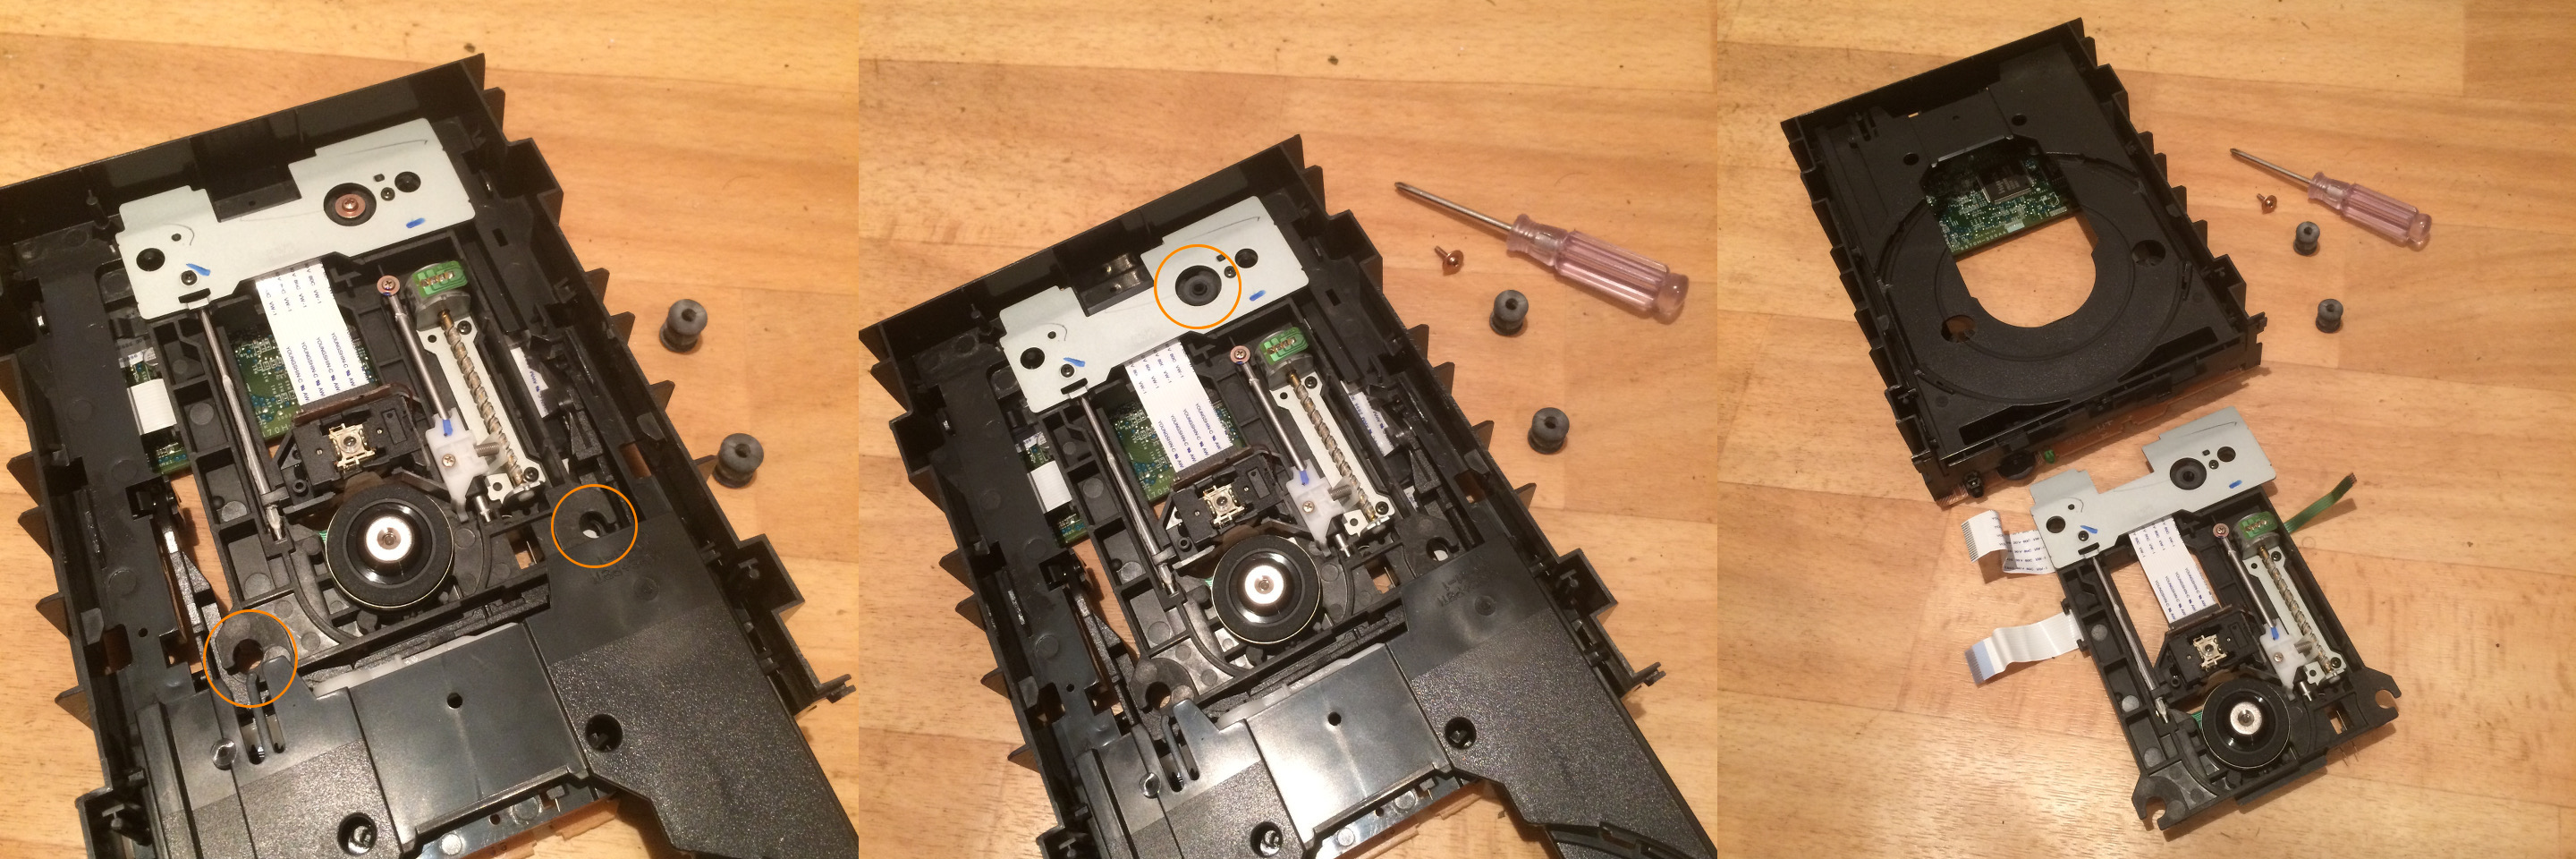
The laser mechanism is held in place in this drive by two rubber feet at one end and a screw at the other (your’s may have similar or different mounts, there’s no standard layout). Just remove these rubbers and screws and the laser positioning module will lift right out.
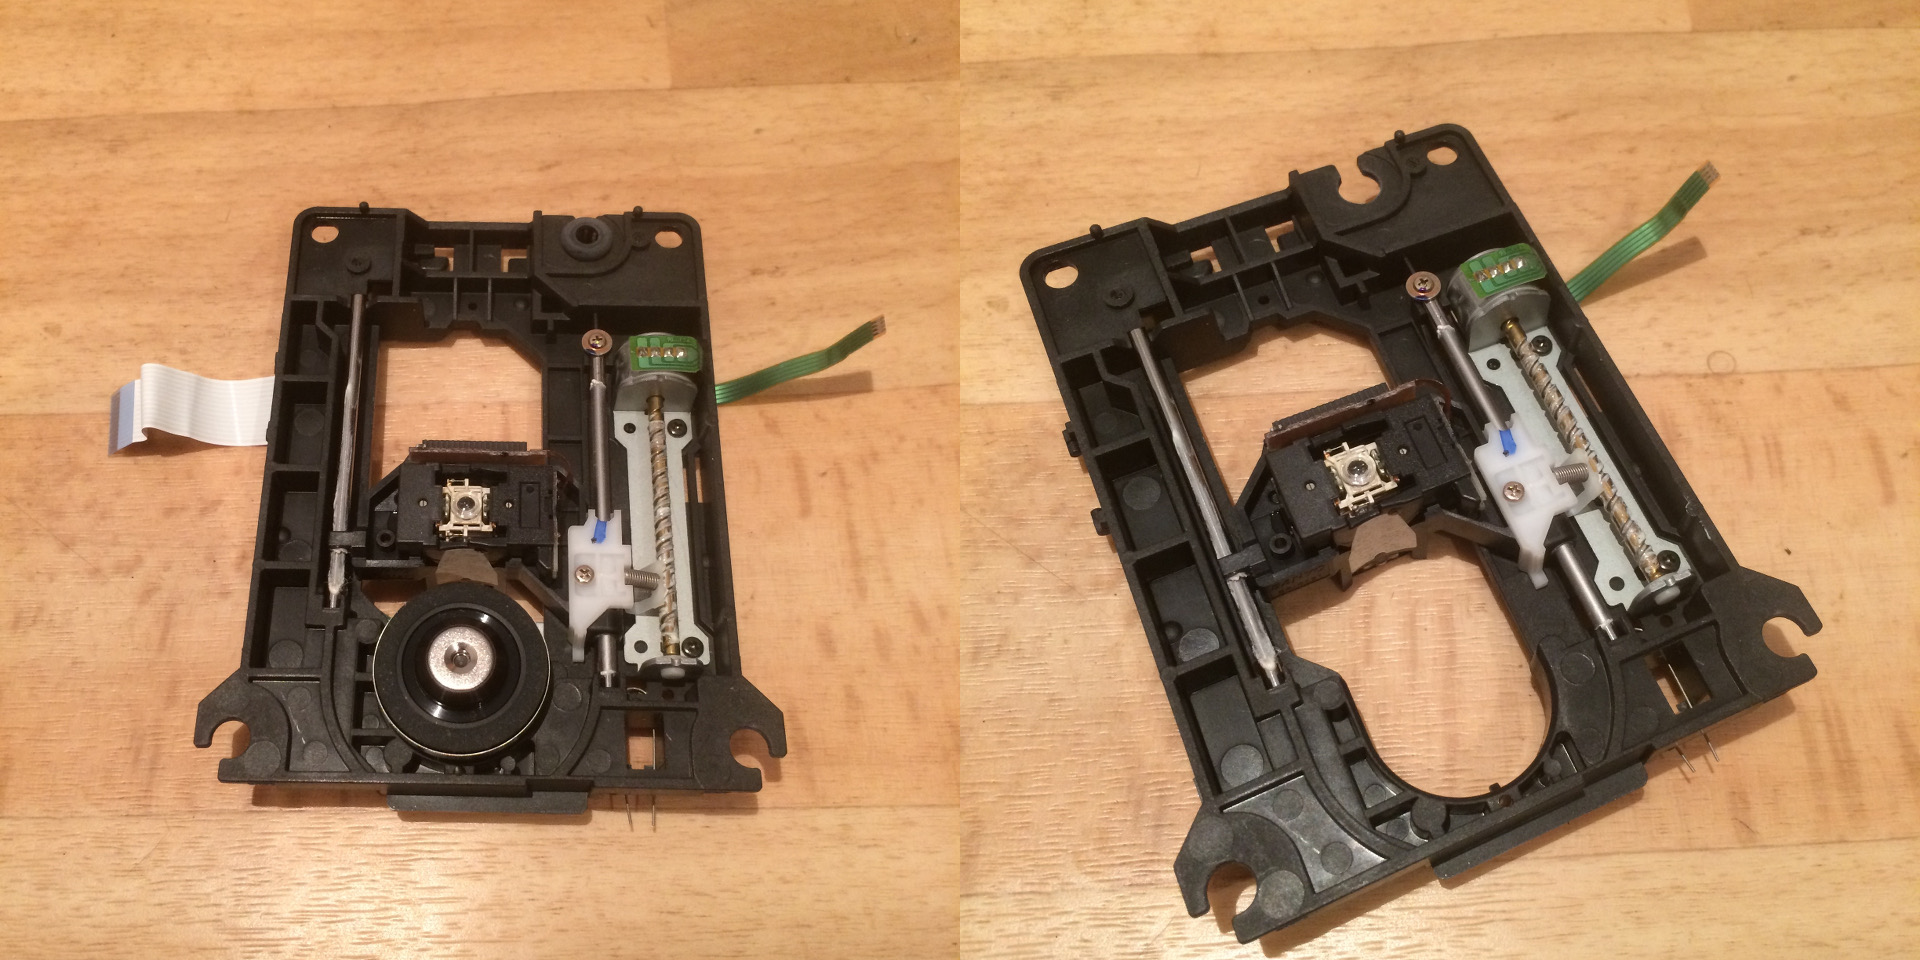
This assembly also houses the stepper motor which spins the disk. We don’t need that, or any other extraneous framework for that matter. Remove them and you’re left with what you need.
At the end you should have just a metal casing (you remembered to save that didn’t you) and the motor/motion assembly.
