When building my printer I looked around (a lot) to sort out the reservoir to hold the stuff I was going to be printing with. I eventually settled on this and built the shelf and motor assembly/print platform to work in conjunction with it.
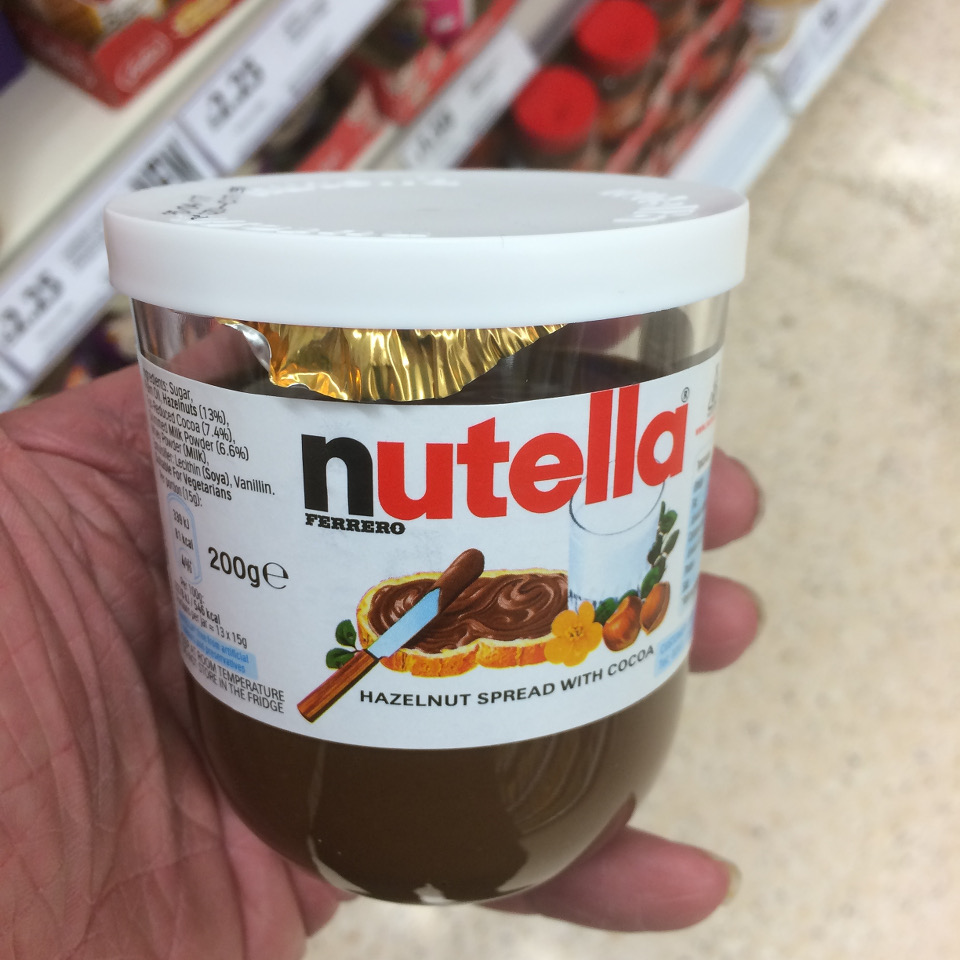
This is a net weight 200g jar, which when emptied holds 250ml of liquid if you fill it to the brim. A more reasonable approach is to fill it with 200ml and leave room at the top for “movement”.
The stuff I originally planned to use for this printer was MakerJuice G+ and I bought a 500ml bottle of it from iMakr.
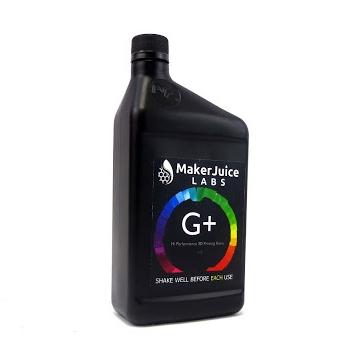
This stuff was expensive. £40 (more if you include delivery) for half a litre. I didn’t want to waste 200ml to an accident as I was learning how to use my new machine.
After looking around online and thanks to the Peachy Printer project, I found that resin could be “floated” on top of another solution. A bit like cream on top of coffee. You just had to make sure the bottom solution had a higher density than the resin. The solution to this solution was Glycerol. It’s quite thick and sticky but the resin will float on it.

If only the resin cost as much by volume as the Glycerin from Boots does.
I wasn’t working to a plan when I poured the Glycerin into jar. I filled the glass up to about half full. Then I gave the MakerJuice a good shake and poured a layer about 15mm on the top of it.
I should have been more careful here and poured it onto the build plate rather than straight into the Glycerol. The resin poured quite a way down into the sticky stuff and then rose quickly back to the surface and I soon had a separation like this.
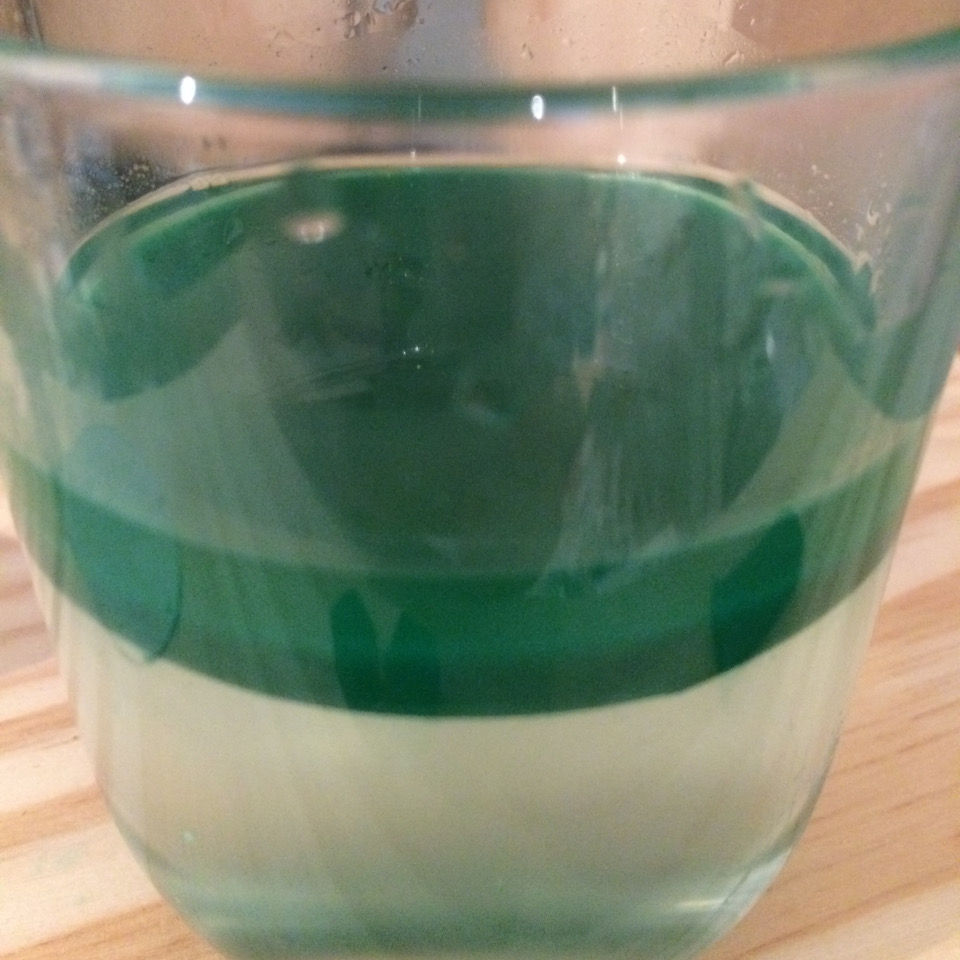
After a while, the clouds settled out and I had a about 150ml of glycerol with about 50ml of resin in the reservoir.
Next I turned on the laptop and the projector and made sure the screens were set up to have the projector running as a “second screen”. I could then use the laptop screen to control the printer software and that software would control the second screen.
I opened up CreationWorks (download a copy here), went into the settings and set it up to use COM4.
I tested the up and down motion mechanics and was disappointed to see that CW wasn’t controlling the motor, until I realised I hadn’t pressed connect.
With that connected and working, I adjusted the height of the print bed until it was just above the surface of the resin.
I loaded a calibration cube STL into the program, which prints a cube of 10x10x10mm. The CW software is set to slice this into 0.1mm thick slices, so in the end I got 100 slices ready to print.
Using the slicer view I could see where the print would be centred on the print bed and I was able to move it around a bit. I could also see that the focus was a little bit off on the projector, so I altered that a little too. Then I turned off the slice preview, lowered the print bed into the resin and made sure there was a thin film of resin over the top of the print bed.
When all that was done, I turned out the lights and pressed play.
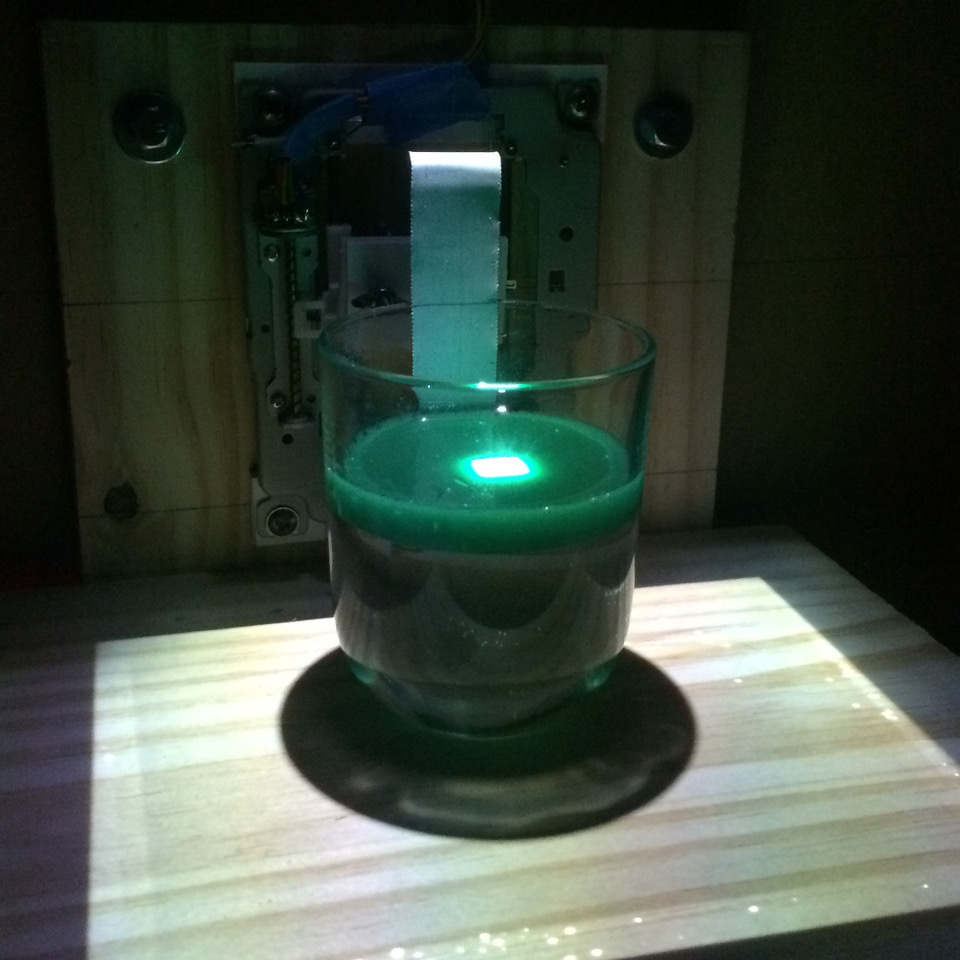
You can see a square slice being projected onto the surface of the printed, the print bed has been lowered a couple of mm already and had become obscured by the incredibly opaque resin.
You can see the size of the projection area here and how much larger the print area could be. I plan on making more use of this with different sized reservoirs. There are also a load of white spots in the projection. This is down to the age of the projector and that the Texas Instruments chip is giving out. They correspond to 1 pixel (0.1mm) at the surface level of the print though and at the moment don’t get in the way.
After about 15minutes the print was complete. I used the manual z-axis control to raise the print bed out the vat and this was waiting for me.
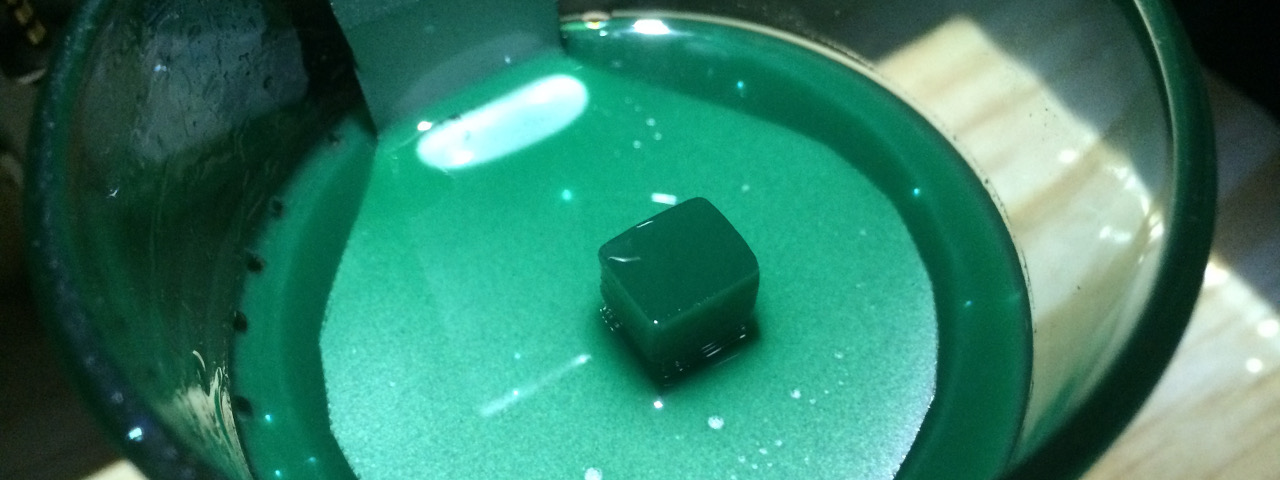
My first print, a solid resin cube.
Not quite a cube though, the calibration was off. It was about 9mm wide and 1cm tall but more like 7mm deep. I measured these to within a 10th of a mm with a set of digital callipers (Can you guess where I got them? Yes, from China through eBay).
I went through a calibration process and adjusted the CreationWorks settings to allow it to check the expected size print to the actual size print and it adjusted the print metrics itself. Quite cool really.
I repeated the print and my second object was a lot closer to being a 10mm cube. It wasn’t perfect but for now it would be ok. I wasn’t going to be printing parts that needed to be accurate to some other real world thing.
Anyway, I was off to Thingiverse to find things to print.
