With the frame built, I needed to find the right position at which I could print objects.
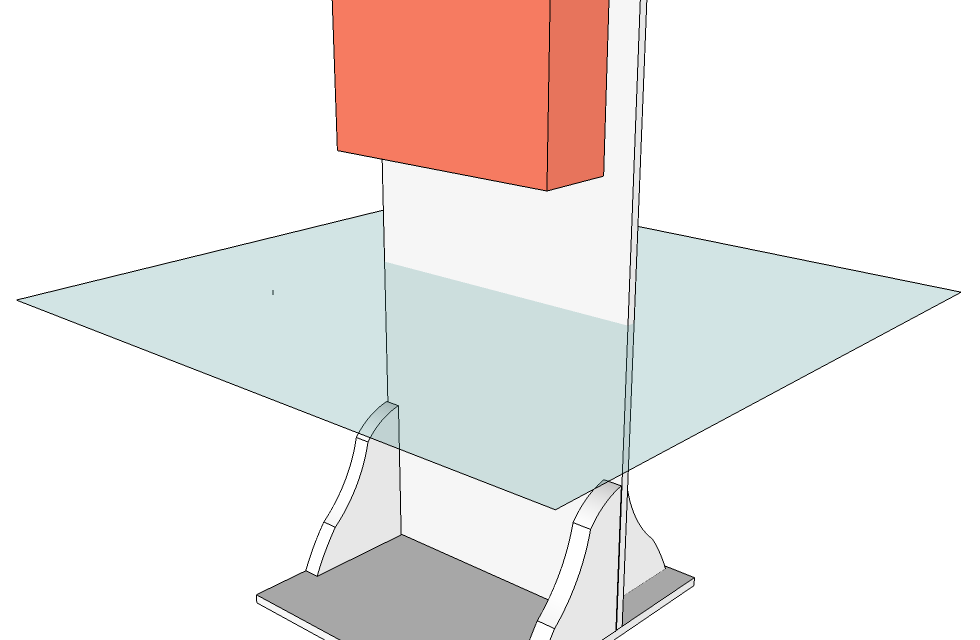
By altering the projector, I had drastically reduced the minimum distance between the lens and the focused image. I also found out that there’s another reason why that stopper screw is built into lens assembly. If you pull the focus too close (higher than the level show in picture above) the lens falls out.
This was expected (It was also mentioned in the original Instructable) and was something I’d already built into my design. You can see from the space below the plane of minimum focus that I have a pretty large vertical space in which to fit my build area.
I could have bought a huge glass vase and filled it with resin but that would have been just too expensive. It took a few shopping trips to find a selection of containers that I thought I could use to “print” into.
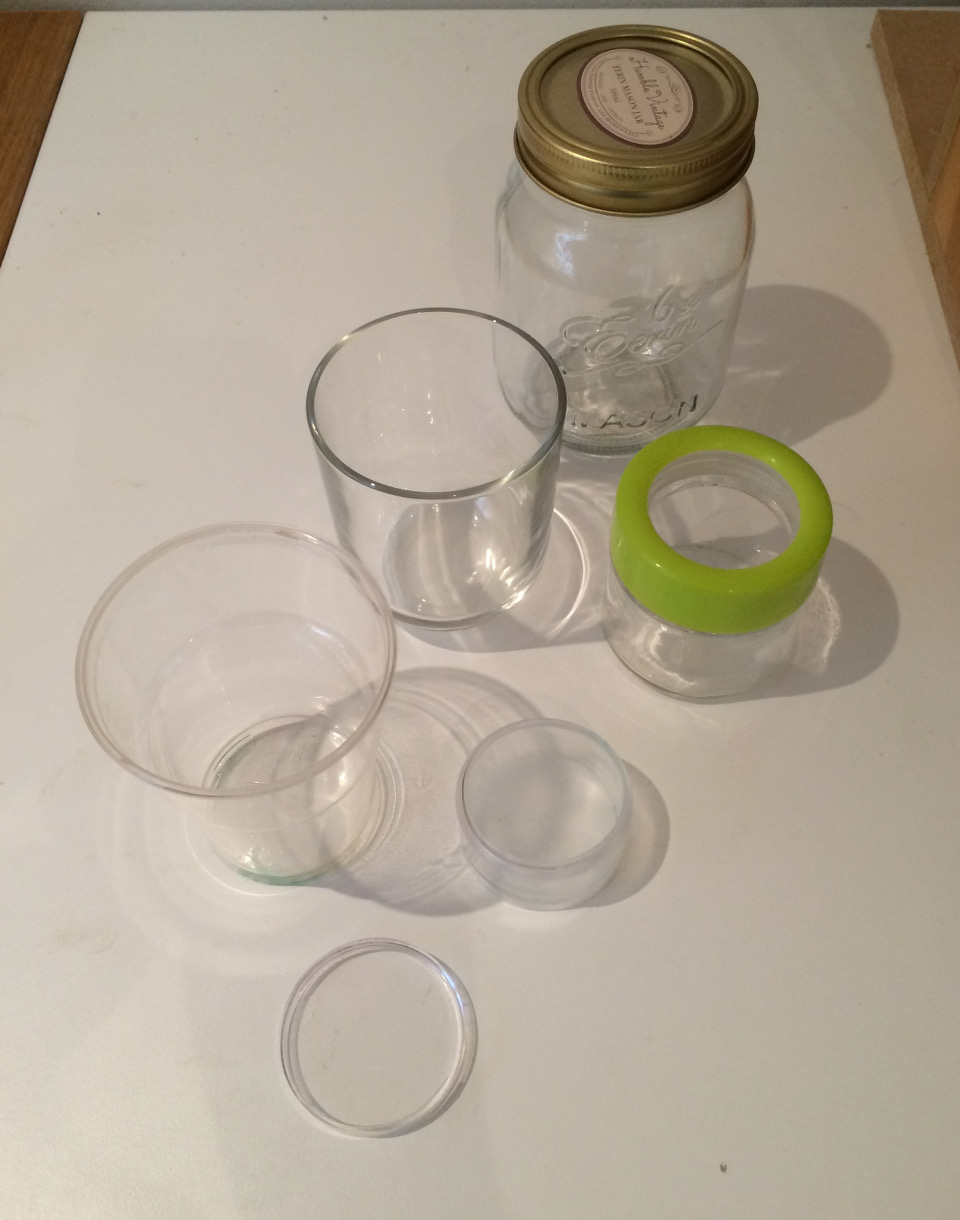
Having read that the resin was corrosive, I didn’t want to take any chances and the three at the bottom were discounted as they were plastic. In the end, I settled on this.
The sides are fairly straight and the neck is wider at the top. I get a build diameter of about 50mm. That, combined with the plans for the z-axis, meant that I would need to build a shelf for this glass vat to stand on so that the top lip was somewhere near to the minimum focus point.
The closer to the projector, the finer the print.
When building the frame, I’d used some reclaimed shelving from B&Q (No relation to Home Depot which surprised me).
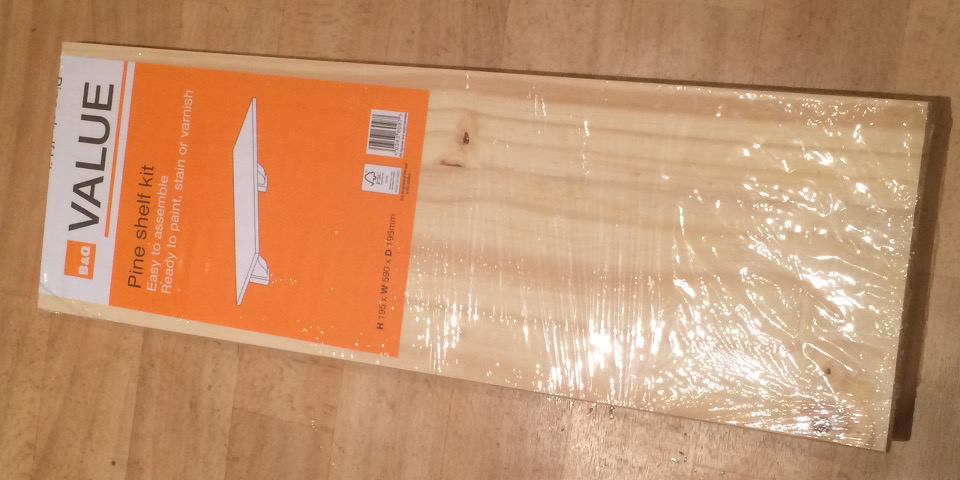
This shelf would use the shelf and the supports. I cut across the board to give me about 250mm width of build shelf and attached that to the remainder of the shelf, which became a backboard.
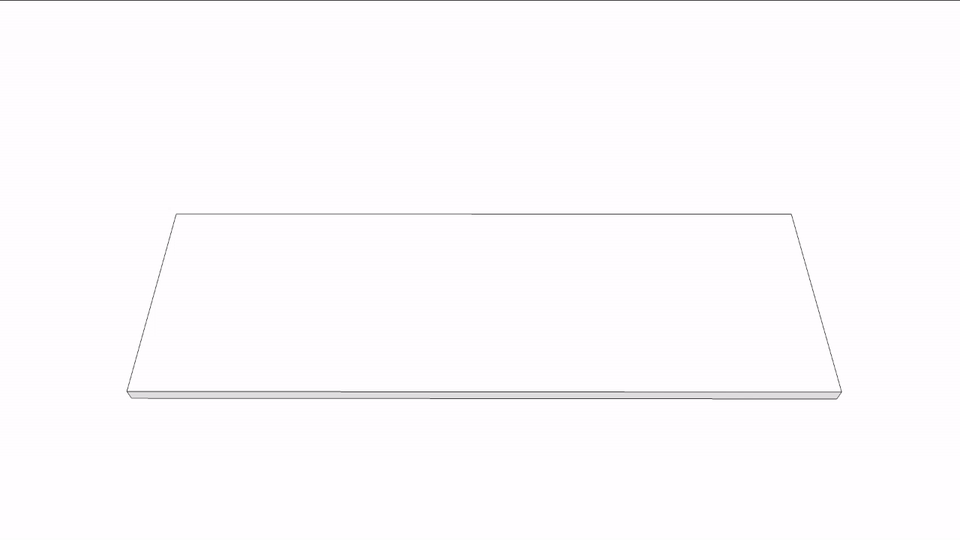
This gives me an initial build platform shelf that I can fit onto the frame, which I attached by passing some more bolts through the pine backboard and through the MDF.
This is why I’d bought the wing nuts, as they allow me to fit the shelf into different positions on the frame.
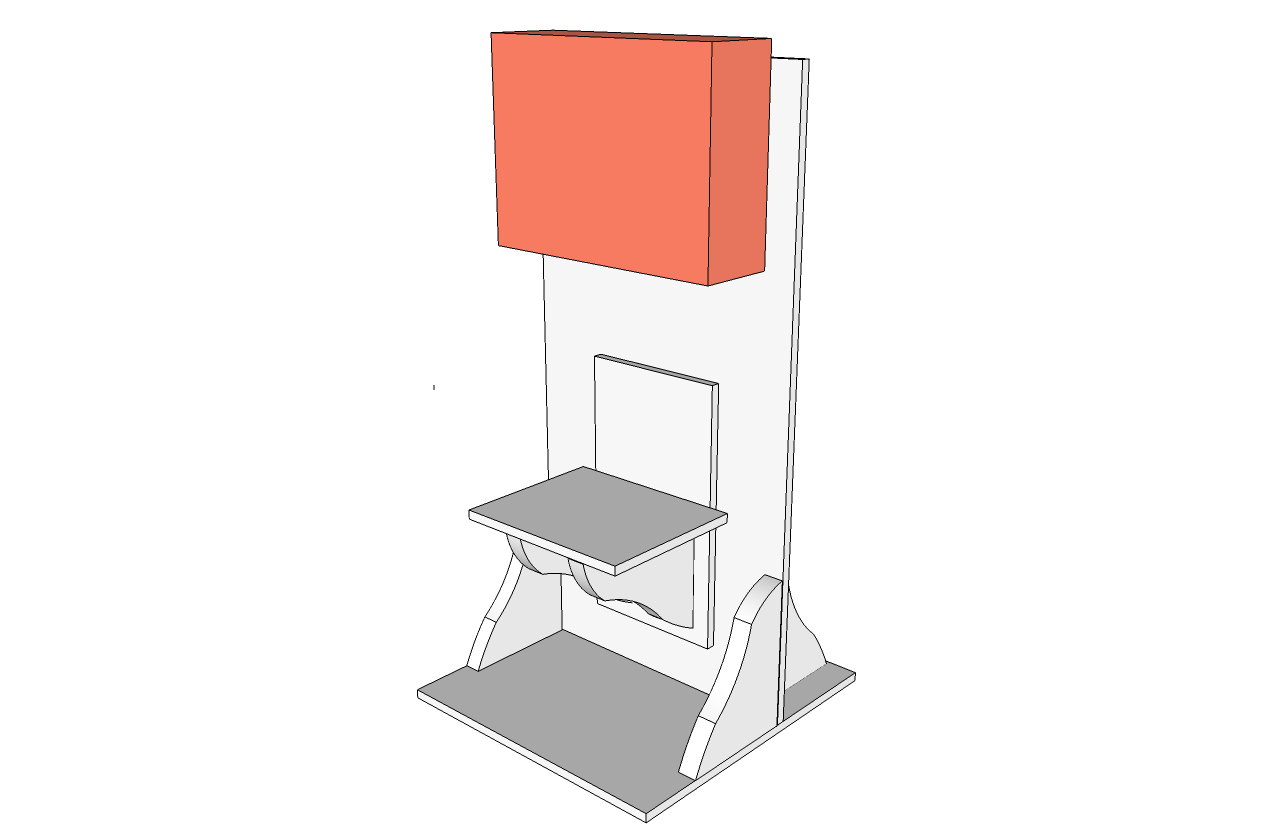
I can raise (slightly) or lower (greatly) the shelf to allow me to use different glass containers, if I the need arises.
Now that I had the projector in place and a projection area fastened onto the frame, I was able to test whether the printer was actually going to work. I’ll explain more on the next page.
